Simple Life Hacks Using A Glue Gun
These simple life hacks prove that a glue gun is such a handy tool to have. Keep on reading to know the hacks and projects you can make!
These Simple Life Hacks Will Blow You Away
To be honest, I never knew how much simple life hacks a glue gun could do until now. I always knew a glue gun was handy since it’s one of my essential tools for a lot of DIY projects, but these simple life hacks are a pleasant surprise. Take a look at this infographic, take down notes, and be amazed at what your glue gun can do!

DIY Makeup Brush Cleaning Board
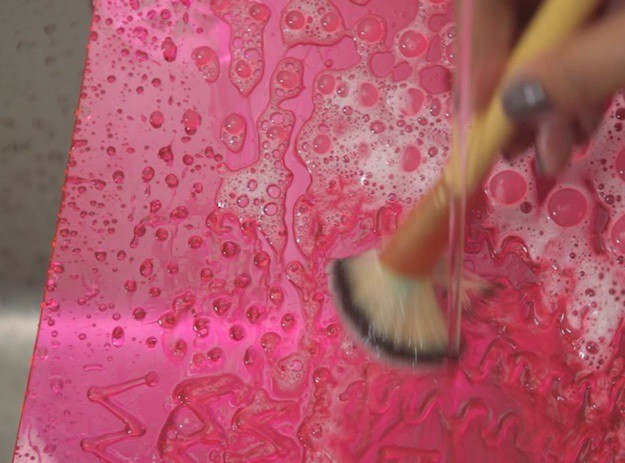
Get to spring cleaning by taking care of your beauty tools — especially your makeup brushes. Here's a neat hack for DIYing your very own makeup brush cleaning board.
What You'll Do:
Step 1: Clean Your Clipboard
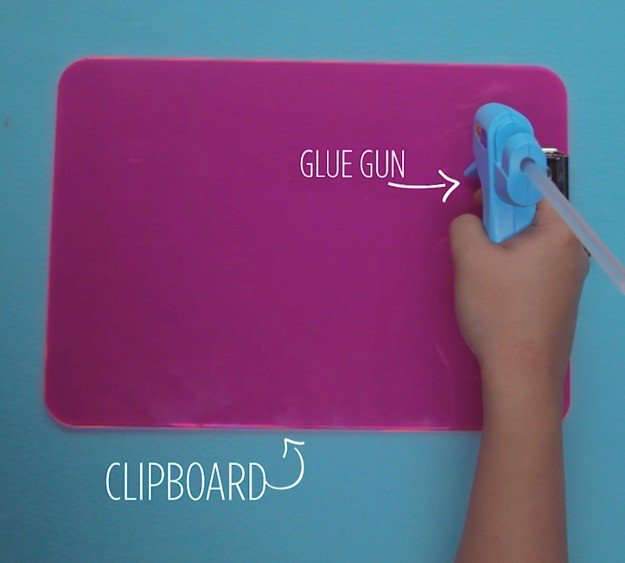
Since you'll be using this project to clean your makeup brushes, it's very important to make sure the clipboard is clean. Once it's clean, prep your glue gun.
Step 2: Draw Lines And Dots On Your Board
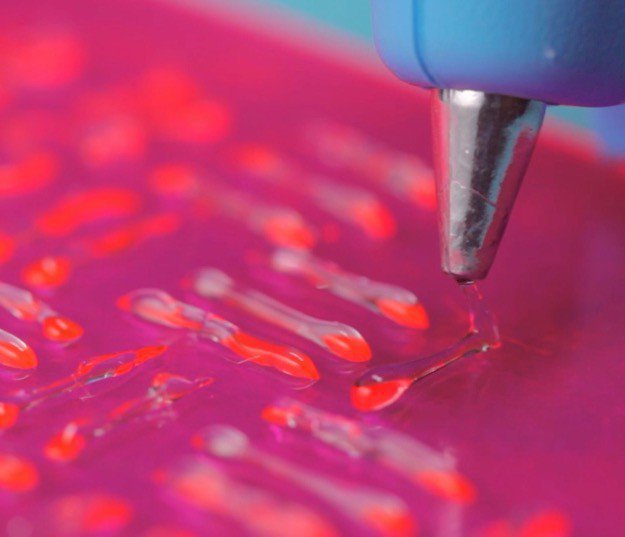
Using your hot glue gun, make an assortment of different lines and dots on your clipboard. Feel free to go crazy on this one by making straight, curved, and zigzag lines, and different sizes of dots.
Step 3: Let The Glue Dry
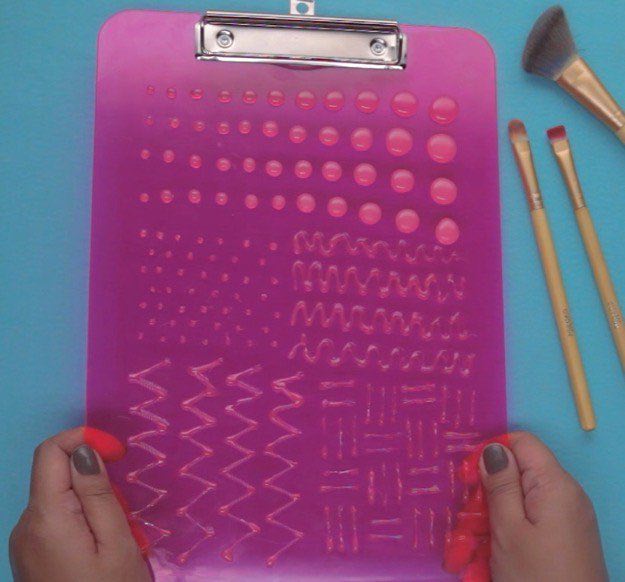
Let your glue gun dry completely. I recommend letting them dry for 3-5 minutes, just to be safe. While drying, prep the brushes to be cleaned.
Step 4: Clean Your Brushes
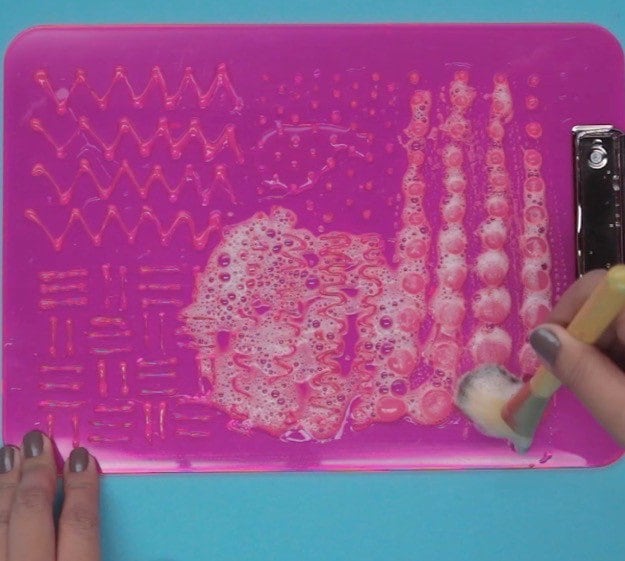
Lastly, clean your dirty brushes by letting them run under warm water. While they're wet, run the bristles against the glue marks on the clipboard. This will help remove the dirty makeup from your brushes.
Easier Writing With A Longer Pencil
Tired of writing with a frustratingly short pencil? Who says you can't put a twist on it to make it a better instrument to write with? I'll teach you the steps below.
What You'll Do:
Step 1: Make A Hole In The Glue Stick
Take a glue stick and puncture a hole in one of the ends with your hot glue gun. This will help serve as the mold for your short pencil.
Step 2: Insert Pencil
Squeeze your pencil into the hole making sure to press it deep into the glue stick. By the way, don't forget to let it dry for a few minutes before using.
Use Up The Last Bit Of Your Glue Stick
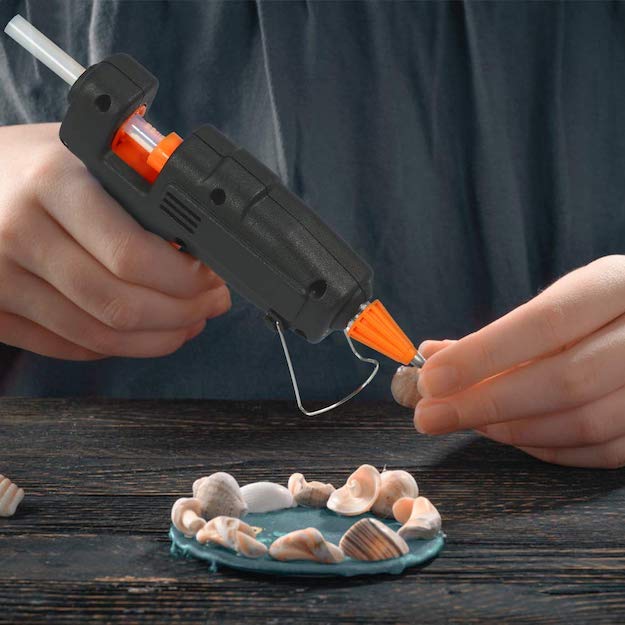
Annoyed with how the small end of your glue stick can't be pushed forward? Don't worry, it won't have to go to waste. Here's a simple way to make the most of it.
What You'll Do:
Step 1: Add Glue To New Glue Stick
Take a new piece of glue stick and add hot glue to one of the ends using your glue gun.
Tip: Don’t put too much otherwise it could turn into a mess.
Step 2: Insert New Glue Stick
Insert the new glue stick into your glue gun as you normally would, but be sure to connect the glued end to the other end of the short glue stick. Don’t forget to give it a little push to lock the two glue sticks together.
Improve Plier Handles
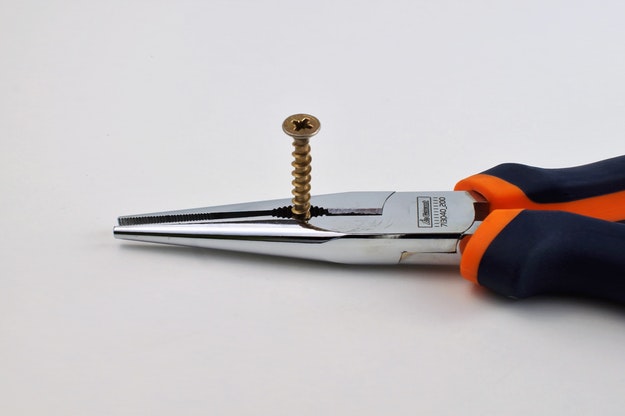
Tired of using your pliers with the yucky handles? Instead of throwing it out and buying a new pair, I recommend doing this nifty trick instead. It'll save you a couple of dollars too!
What You'll Do:
Step 1: Apply Glue On Your Plier's Handles
Use one hand to hold the pliers on its head — I recommend using your less dominant hand for this. Using your other hand, apply glue on your plier's handles. Be sure to cover all the sides.
Step 2: Allow The Glue To Dry
Let the glue dry before you begin touching the handles. I recommend letting it dry for 8-10 minutes. To check if the glue has dried, you may give the handles a soft tap. If it resists the pressure of your finger, then it's dry.
DIY Non-Slip Floor Mat
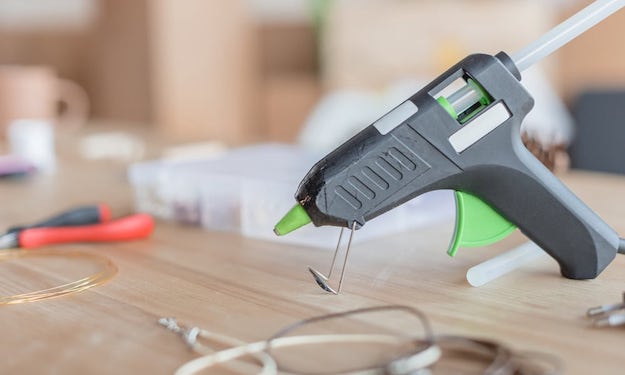
Stop your floor mat from budging with the help of a glue gun. Trust me, sometimes all it takes is this little hack to prevent any possible slips and falls.
What You'll Do:
Step 1: Flip The Mat Over
Grab your mat and flip it over so the bottom side is facing you. Then prep your glue gun.
Step 2: Apply Glue On The Bottom And Let It Dry
Apply lines of glue on the floor mat. You won't need to cover the entire thing. A few lines and squiggles on each of the sides will do. Once you've finished, let the glue dry. Then, flip it over and say goodbye moving floor mats.
BONUS!
Once you're done working on the simple life hacks with your glue gun, it's time to clean your handy tool! Make clean up a breeze with these tips and tricks:
Get Dried Glue Off Wooden Surfaces
Rid your wooden tables and floors of dried glue stick residue. Would you believe me if I said all you needed was an ice cube or two?
What You'll Do:
Step 1: Rub Ice On Dried Glue
Rub an ice cube on the dried up glue residue. The cold temperature of the ice cube will cause the dried up glue to become harder and easier to peel off.
Step 2: Peel Off
Once the ice cube has hardened the dried up glue, simply use your fingers to pry out the glue from the wooden surface. A couple of tries should take the glue off in one piece.
Rid Glue Gun Of Dried Up Glue Bits
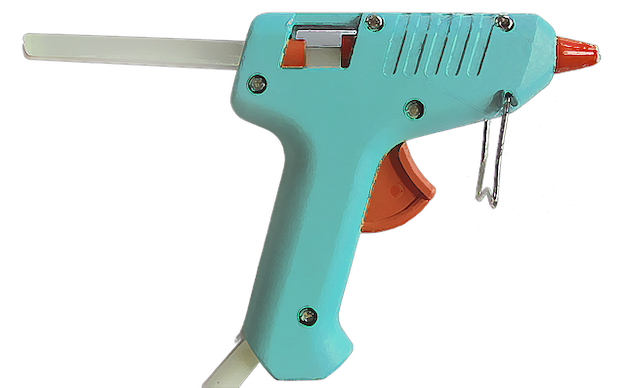
Try and clean your glue gun after every craft session. Need a handy way of taking off the glue residue around your glue gun? This trick has you covered.
What You'll Do:
Step 1: Roll Up Foil
Grab a piece of aluminum foil and roll it into a tight ball.
Tip: You won’t need too much foil for this. A balled up piece smaller than a table tennis ball is fine.
Step 2: Scrub Glue Gun With Foil
Scrub your glue gun with the balled up aluminum foil. Don’t forget to scrub both the body and the spout with your ball of aluminum foil.
See everything in action by clicking this video:
Aren’t these simple life hacks ingenious? I’ll admit, I’ve never been this impressed before about how much a glue gun can do. I might actually try the DIY makeup brush cleaner board idea this week.
Got any simple life hacks you’d love to share? Let us know in the comments below!
Want more hacks in your life? Check out this list of DIY hacks to make your clothing last longer!
Stay connected with us on Facebook, Twitter, Pinterest, and Instagram!
Feature image via Happy Hooligans
